A landscaping company’s office and warehouse building was flooding during heavy rainstorms. The tenant became frustrated and threated not to renew their lease. As a result of the flooding issue, the building could not be rented to another tenant without correcting the situation. Wellington Environmental was asked to perform the mold related work inside the building. However, there was no point in performing the mold related work inside the building unless the exterior drainage issues were corrected first.
The cause of the flooding inside the building was due to multiple issues. The slope of the grounds located behind the building were slanted directly to the office/warehouse building. On top of the improper slope, the drive behind the building was topping the retaining wall. Consequently, rain water from the hill was rushing over the retaining wall and entering the building.
Wellington Environmental submitted a building protection and drainage solution to the owners of the property. The plan included protecting the rear and south side of the building with roofing membrane and installing professional drainage piping. The owner’s brought in an experienced excavation contractor to correct the slopes, repair the retaining wall, and dig out a path to allow for the installation of the roofing membrane and the drainage piping.
Click the gallery below to see the solution in progress:
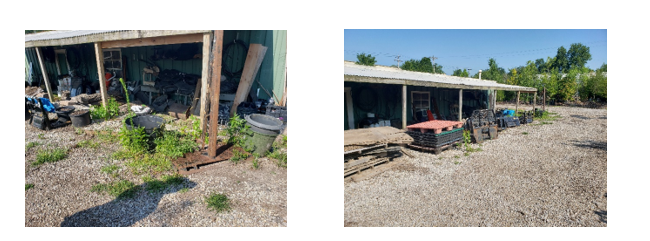
- Water was coming down the hills on the north and east side of the building and rolling over the retaining wall
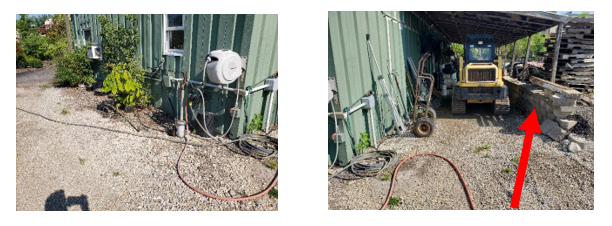
- This is the top of the retaining wall and slope was allowing the water to pass over the concrete block wall
- The south side of the wall was also allowing water to enter. The retaining wall is shown in this photo.
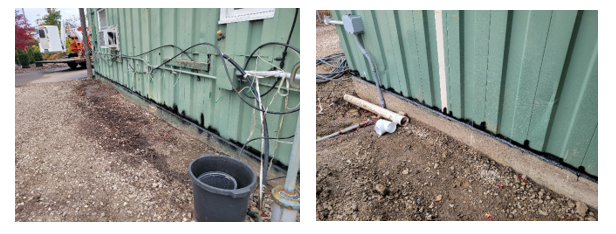
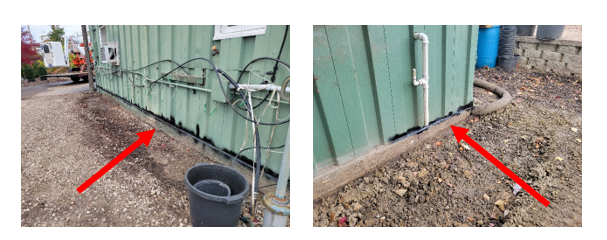
- The south wall was sprayed with a sealer material (see black lines) so that water cannot enter between the footing and the start of the walls. There was also some damage to the walls that were also sealed as an added protection.
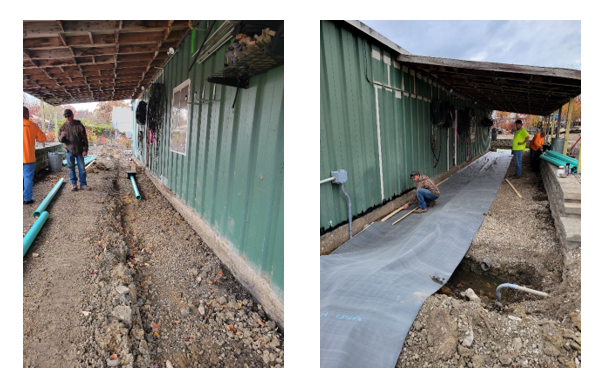
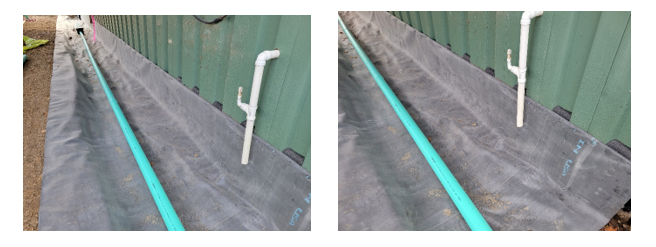
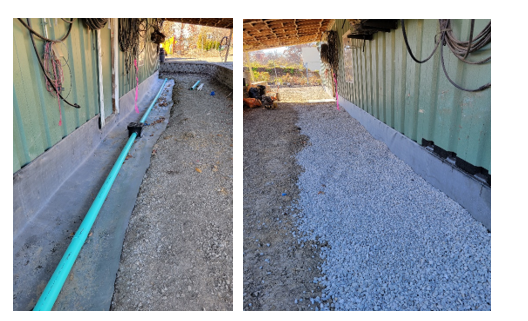
- Others excavated the area between the retaining wall and the building to allow for us to build a roofing membrane protection to the building and install Schedule 35 slotted drainage piping on top of the roofing membrane.
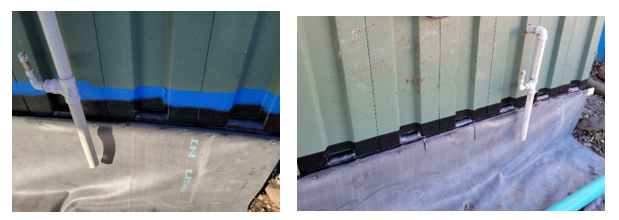
- Shown above are the areas that are not under the canopy where we applied a sealer to the footing to the building (black line).
- Excavation prior to installing the roofing membrane
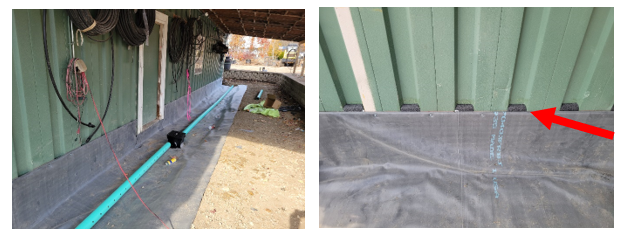
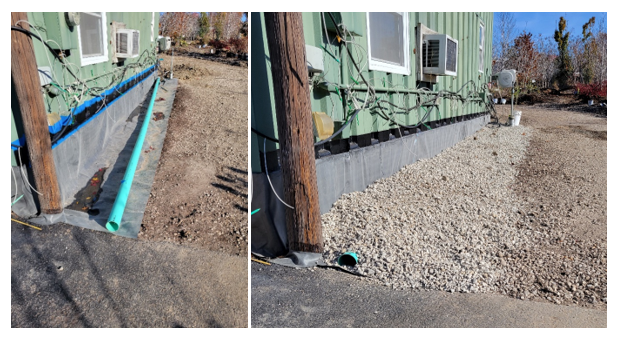
- This is the initial steps of installing the roofing membrane to the building. The schedule 35 slotted piping is then laid on top of the roofing membrane. The roofing membrane will be cut back prior to adding the rock and will be shown in later photos.
- Roofing membrane shown attached to the building and around the door. The step drain will be installed and was dug out deeper to provide slope for the concrete step.
- Piping shown in the trench connected to the surface drain box. The photo above shows the plugs that were cut and installed in the gaps between the flutes in the sheet metal siding.
- Areas where the siding flute gaps are exposed to rain have been filled with a rubber product and then sprayed with a type of sealer/roofing tar to prevent rainwater from traveling behind the mule-hyde roofing material.
- Pipe run ready for rock installation.
- New concrete pad at the rear door and the surface drain in the middle installed.
- South side of the building prepared for rock installation.
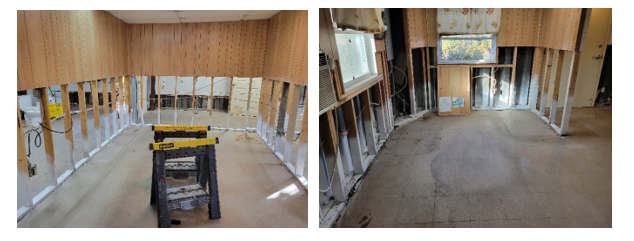
- After the exterior was waterproofed, we removed the mold damage from the inside walls in the office area of the building. We cleaned/disinfected and treated the wood with an anti-microbial product (white).
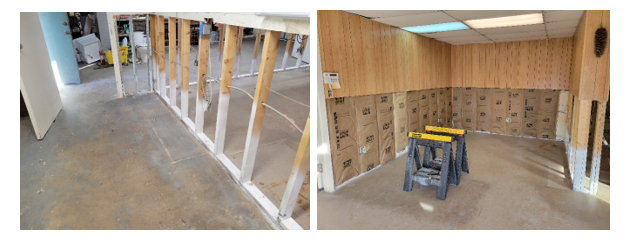
- After the remaining studs were cleaned/disinfected and treated we insulated the walls so the drywall contractor could install the new drywall and put back the plumbing fixtures.
- Insulation installed by Wellington crew.


